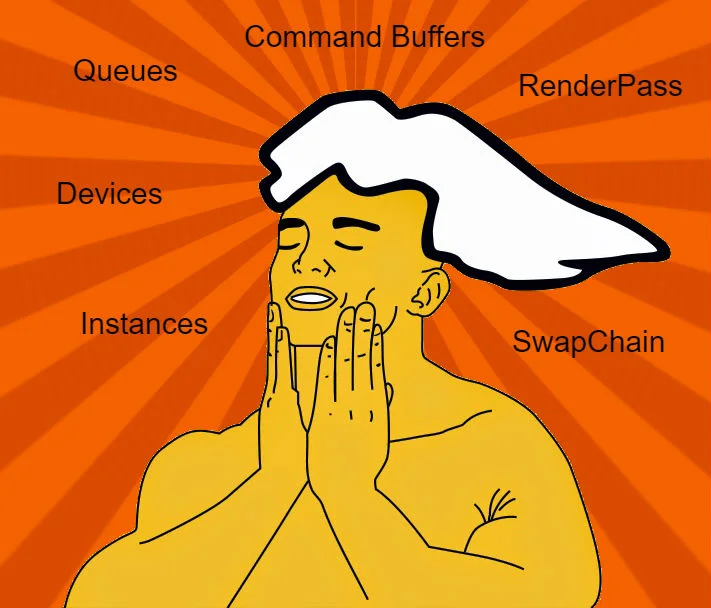
I Am Graphics And So Can You :: Part 2 :: Intuition
STOP! Don't look at code. Don't crack that technical reference. If you want to gain intuition, you're not going to obtain it by going down rabbit holes. I think the problem people have with graphics is, there are so many details that it's easy to get lost in them. ( something about forest and trees ). The problem is so many of the details are important, and knowing when to throw a particular switch, or turn a given knob increases the entropy of the topic at hand.

But all the knobs and dials aren't random. There's a method to the madness. After all, that's what you're trying to master. You've probably seen a pipeline diagram of a GPU before. ( If not we're about to look at one ).
Still not making sense right? You know it's all there, right in front of you. But it's dead, lifeless. That's because we need to inject some data into it. Let's make this come alive. Enter RenderDoc ( NSight, GPU PerfStudio work too )
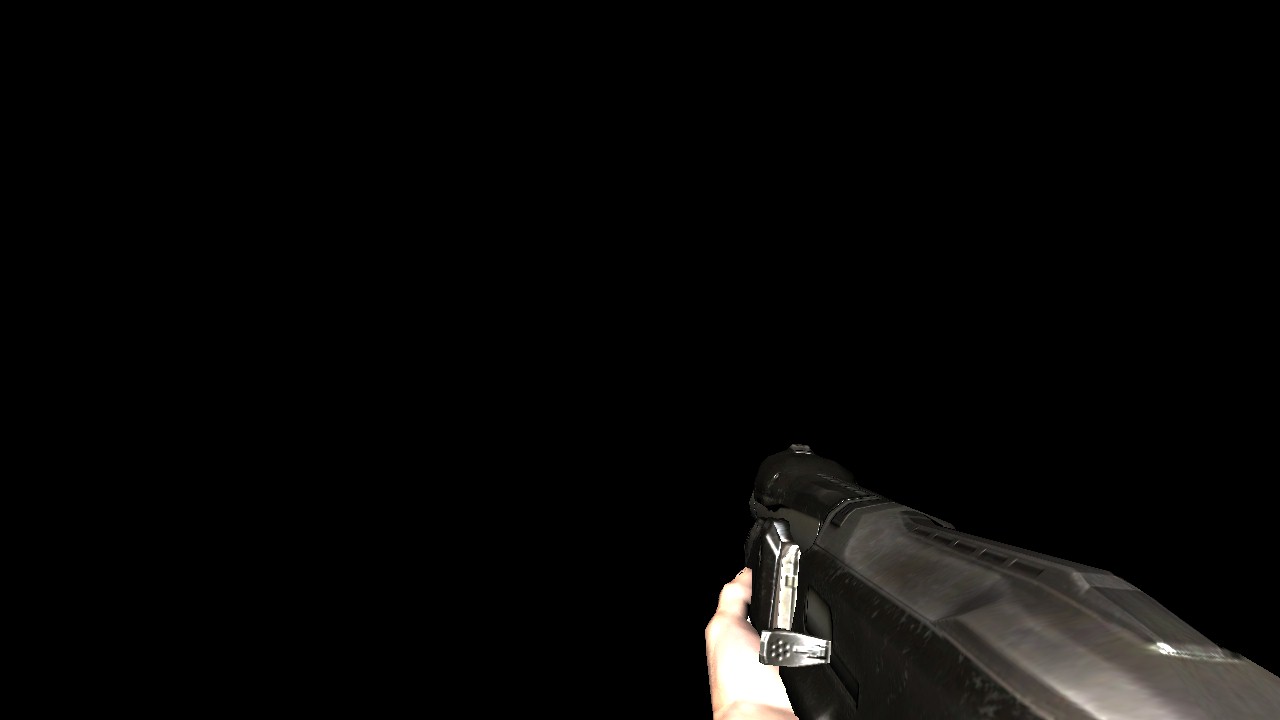
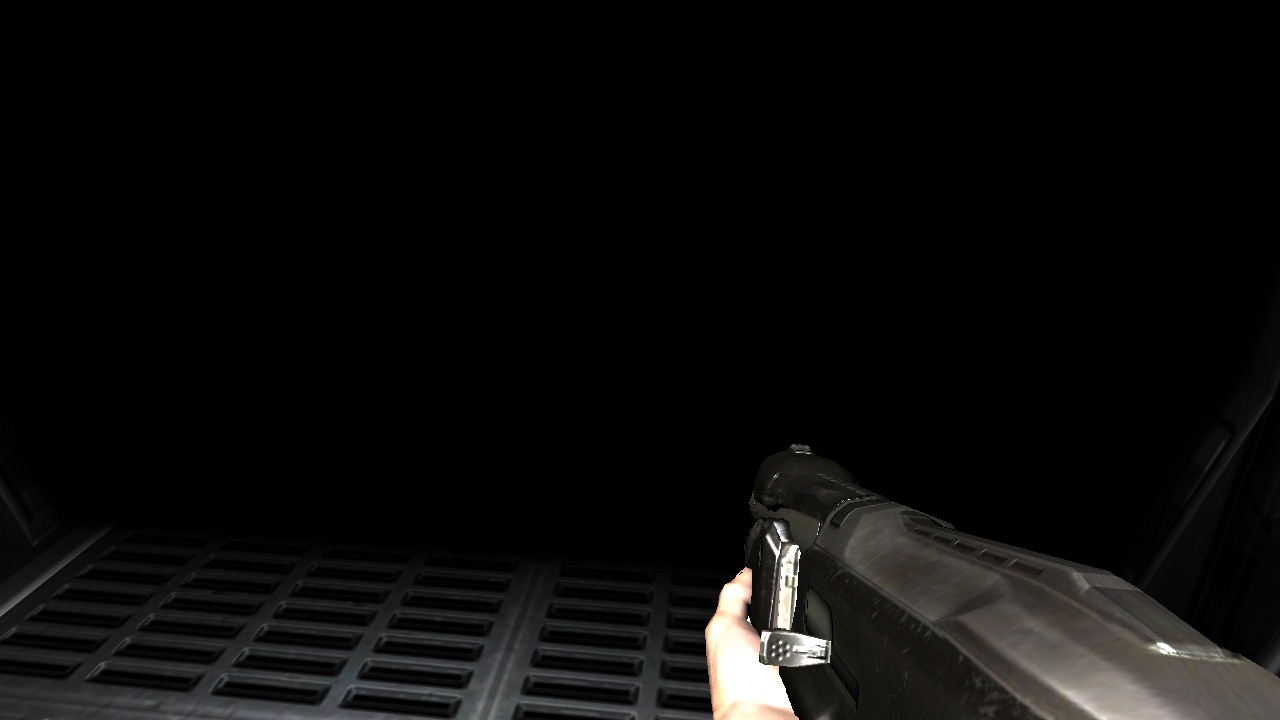
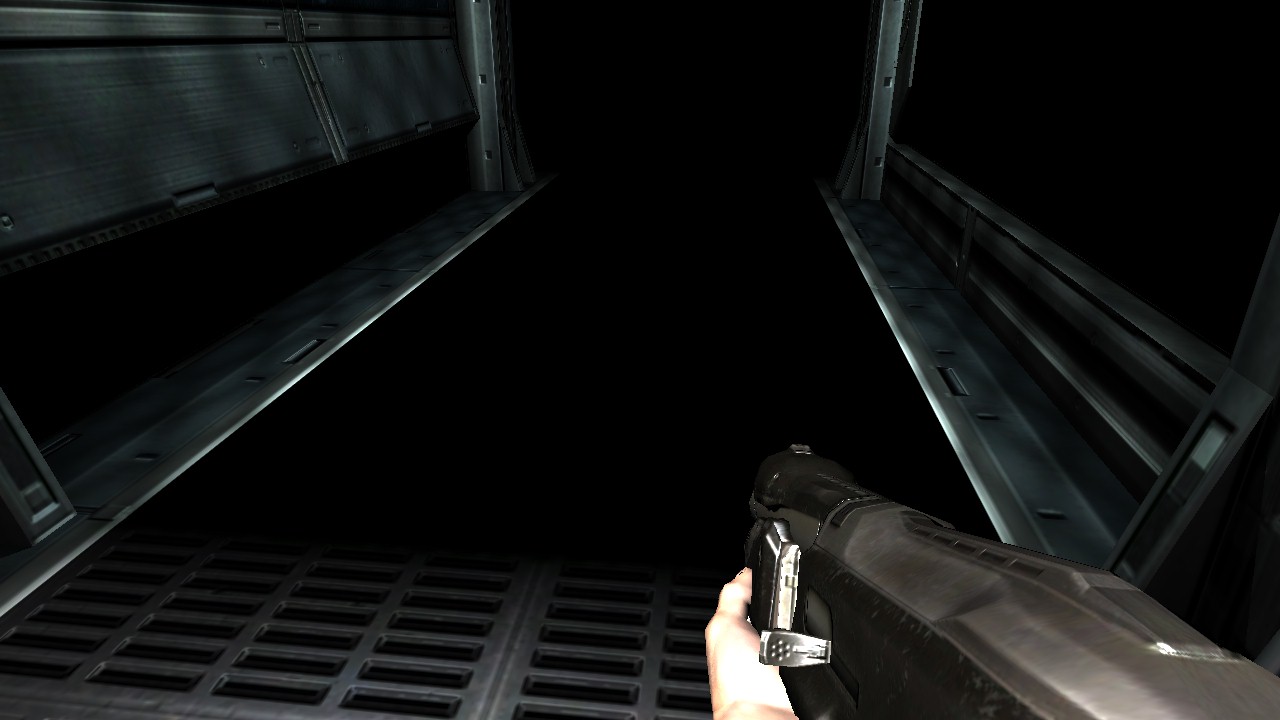
Here is a frame capture of vkNeo using RenderDoc. We're going to step through it for great success. ( click to enhance )
Does the above image look familiar? It's the graphics pipeline diagram we had just looked at. Only this time we'll get to play with real data.

As you can see, there are a lot of draw calls. Most of rendering is just setting things up so you can call draw as fast as possible.
Each draw goes through a pipeline. You determine how that pipeline is configured. This will all come in handy when we dig into Vulkan pipelines later. For now let's look at what the draw calls actually do. Click through the highlighted draw calls below.


Awesome! So now what? Instead of expounding on detail, let's further drive home the simplicity of the pipeline by going through each stage. After all, if you're armed knowing how to do 90% of what you need, you can easily explore the final 10% which is more difficult to master. You'll notice that four stages are grayed out. Those include...
- Tessellation Control
- Tessellation Evaluation
- Geometry Shader
- Compute Shader
The first three are largely ignored in video games. The fourth is an exciting area for new features, but is definitely more of an advanced topic for beginners. That leaves us with..
- Vertex Input - What data are you putting into the pipe?
- Vertex Shader - How are you positioning things put into the pipe.
- Rasterizer - Break the geometry you put into the pipe, into fragments.
- Fragment Shader - Color the fragments.
- Framebuffer Output - Store the fragments according to certain rules.
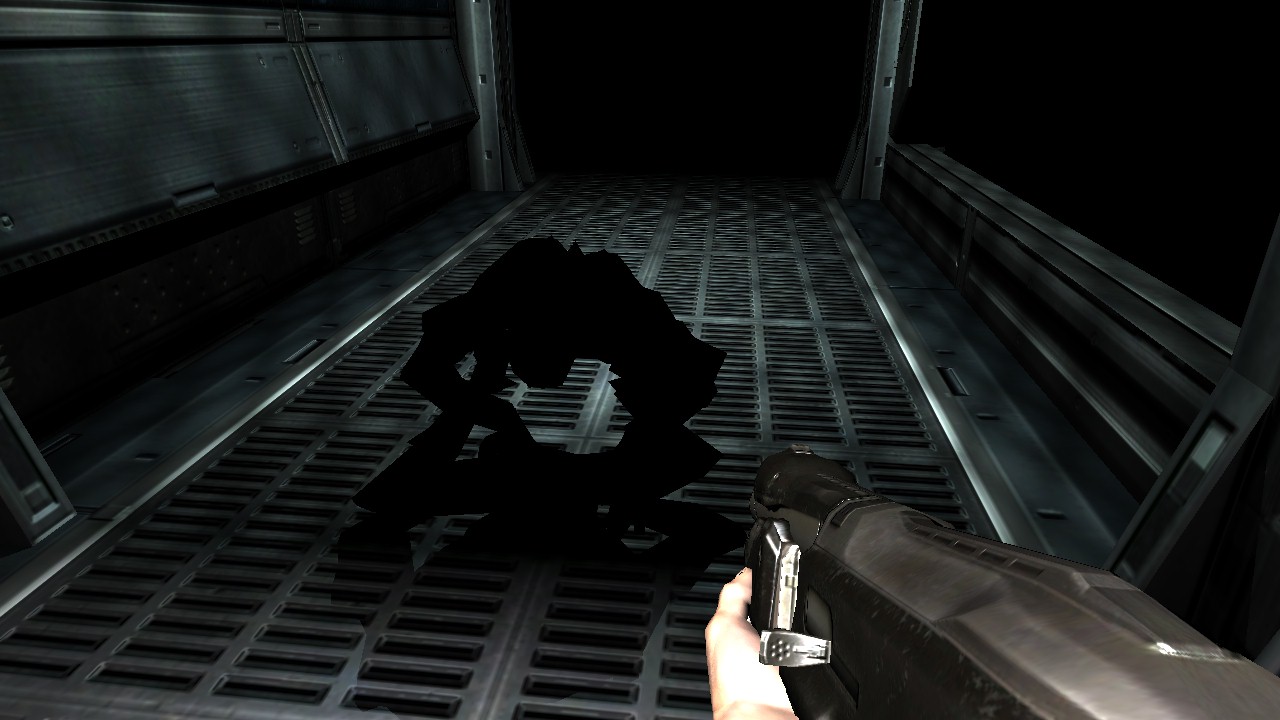
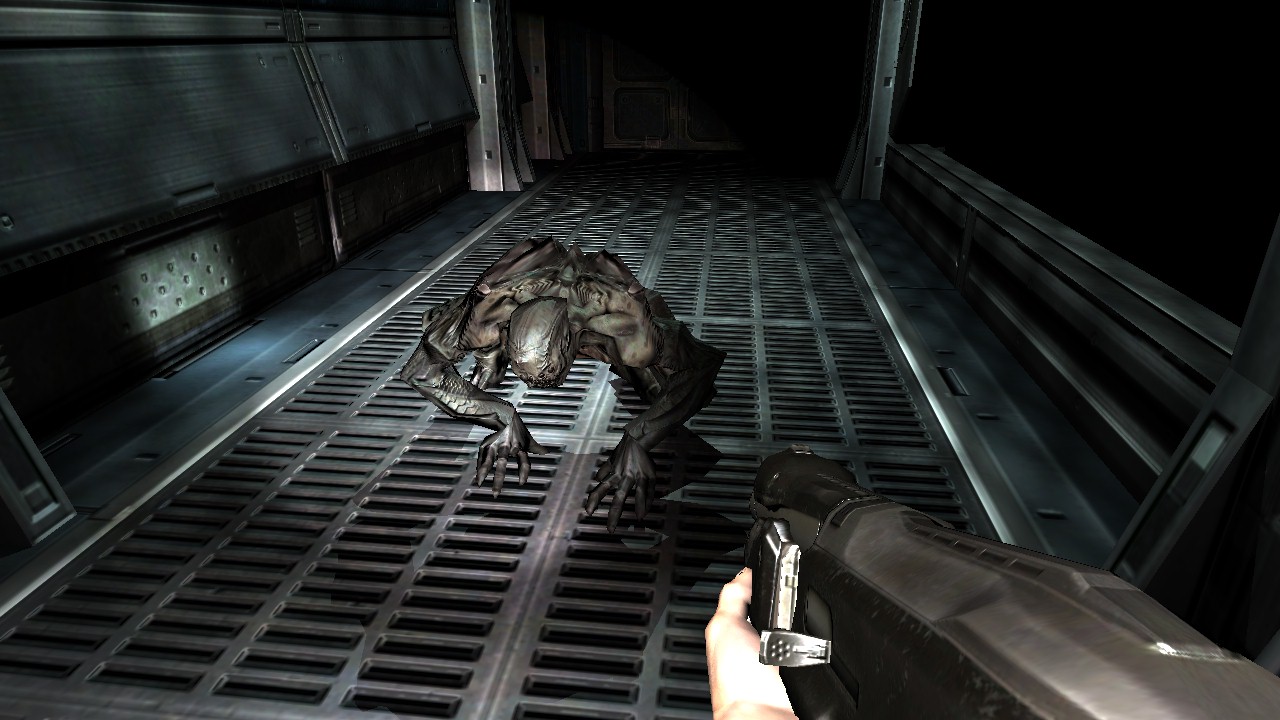
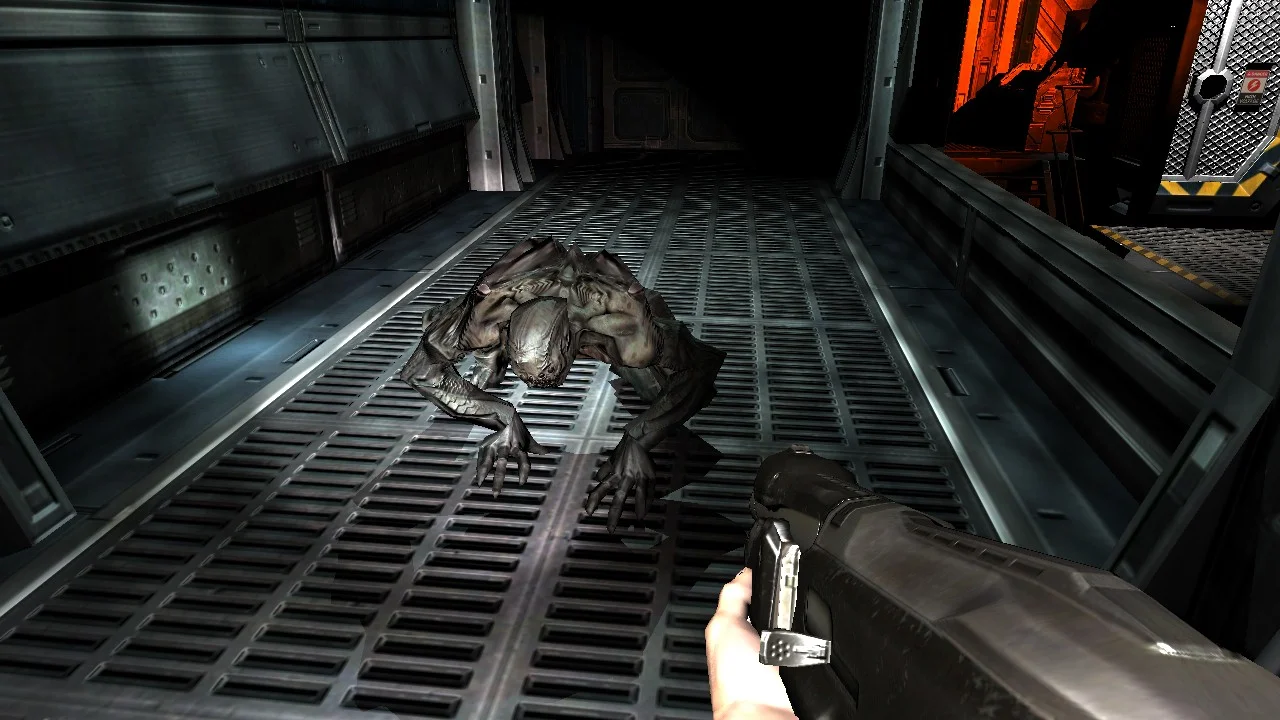
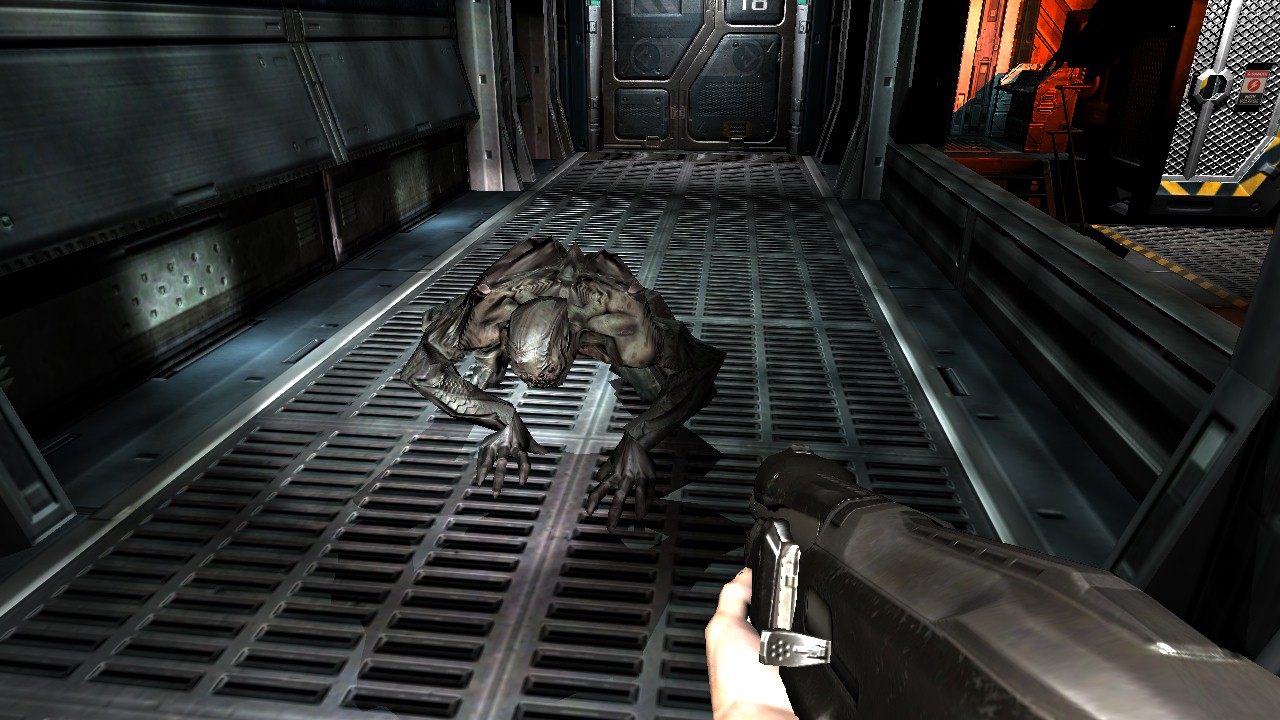
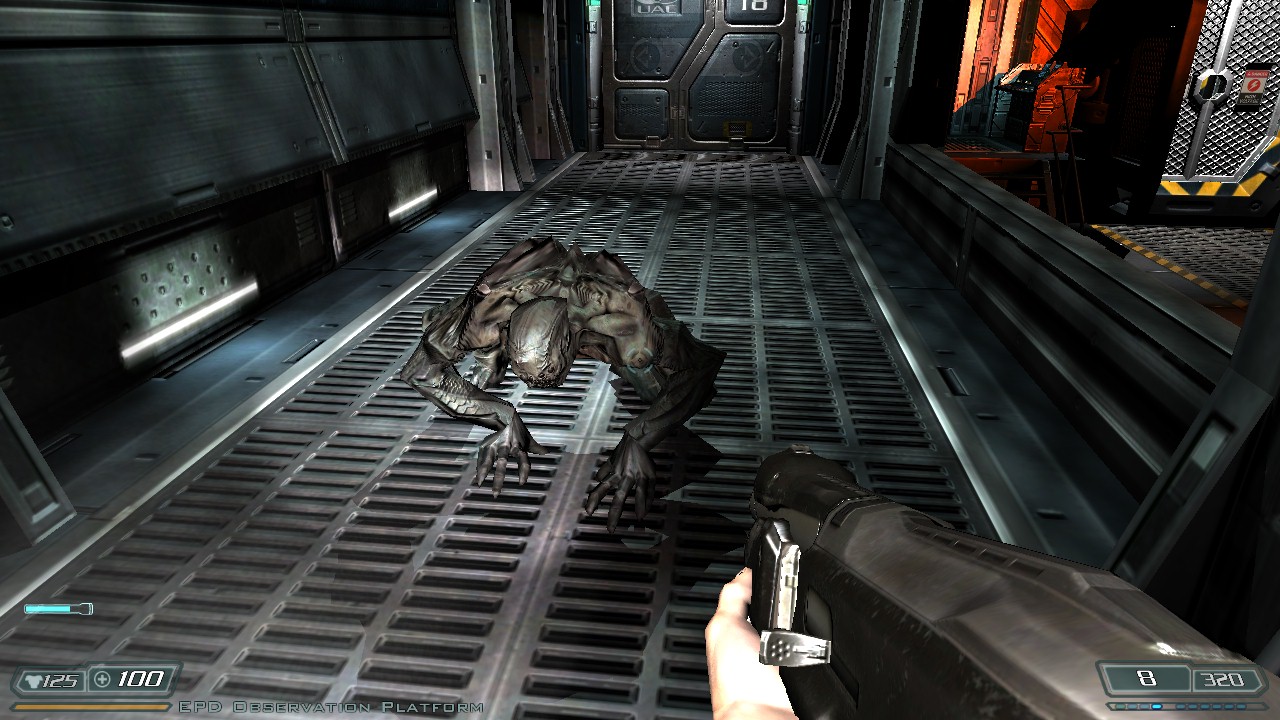
Let's take one of the above frames and walk through each pipeline stage. We'll use the first time the shotgun is drawn. Starting out, the model for the shotgun is already on the GPU ( or accessible to the GPU ) as are the textures and most other data. There are exceptions and we'll get to that in a later article.
All you're really doing at this stage is getting data to the GPU and describing its layout. The primary vertex layout for VkNeo is shown above. In the source this is idDrawVert and is 32 bytes. Below you can also see the index and vertex buffers the draw call was made with. ( There's a handy tool in most frame debuggers for looking at that data. Note arrows besides )
The vertex shader stage has a boring pipeline view. So let's switch over to the Mesh View! Here you can actually see the results of the vertex shader! I bet early graphics programmers wish they had this view ( let alone any tools ). The data is all laid out for you in excruciating detail. It's here that you write programs ( shaders ) to transform the data given to you in the previous stage. The primary goal is to just position things correctly so often this shader is supplied with a model-view-projection matrix.
Next stop is the rasterizer, the inner sanctum of renderers. Can you imagine having to write one of these by hand ? ( might be fun ) But let's not. If you've attempted graphics before, then a lot of these knobs will look familiar to you. If not, we'll talk about them in another article. The rasterizer largely sits and does what it does best, and that's turn triangles into fragments.
Almost done. I see light at the end of the tunnel! ( har har ) But seriously, the fragment shader stage is where you paint fragments produced by the rasterizer. So it would make sense, this is also where you bring in all your textures that you want to use as references when determining the output color. Notice in RenderDoc's view I've switched to the texture viewer so you can see some of the inputs to the fragment shader.
Finally! We made it. This is where the final color values are determined and output to the frame buffer. There are several systems here that give you great flexibility in controlling that output. These include the depth, stencil, and various blend states. We'll talk about this more in detail in a dedicated article. After the all draw calls have been issued and the framebuffer filled, it's ready to ship to the display device.
That's it. That's graphics in a nutshell. If you can intuitively understand the various stages, their purpose, and how they interact, then you're golden. It's all down hill from there. Details aside, this holds true for any API. So don't try to focus on the API so much as what the graphics pipeline is doing. In the end it's about what you want to do. I recommend for anyone starting out in graphics, to simply grab RenderDoc ( or NSight, PerfStudio ) and point it at a game. Look at what each draw call is doing. Then you'll have a better idea of what you're doing, when you're down in the rabbit holes.

This article brought to you by RenderDoc. I'm not sponsored or affiliated in anyway, but it's one hell of a program.
P.S. Remember what the great Indiana Jones said. "You gotta get out of the library."